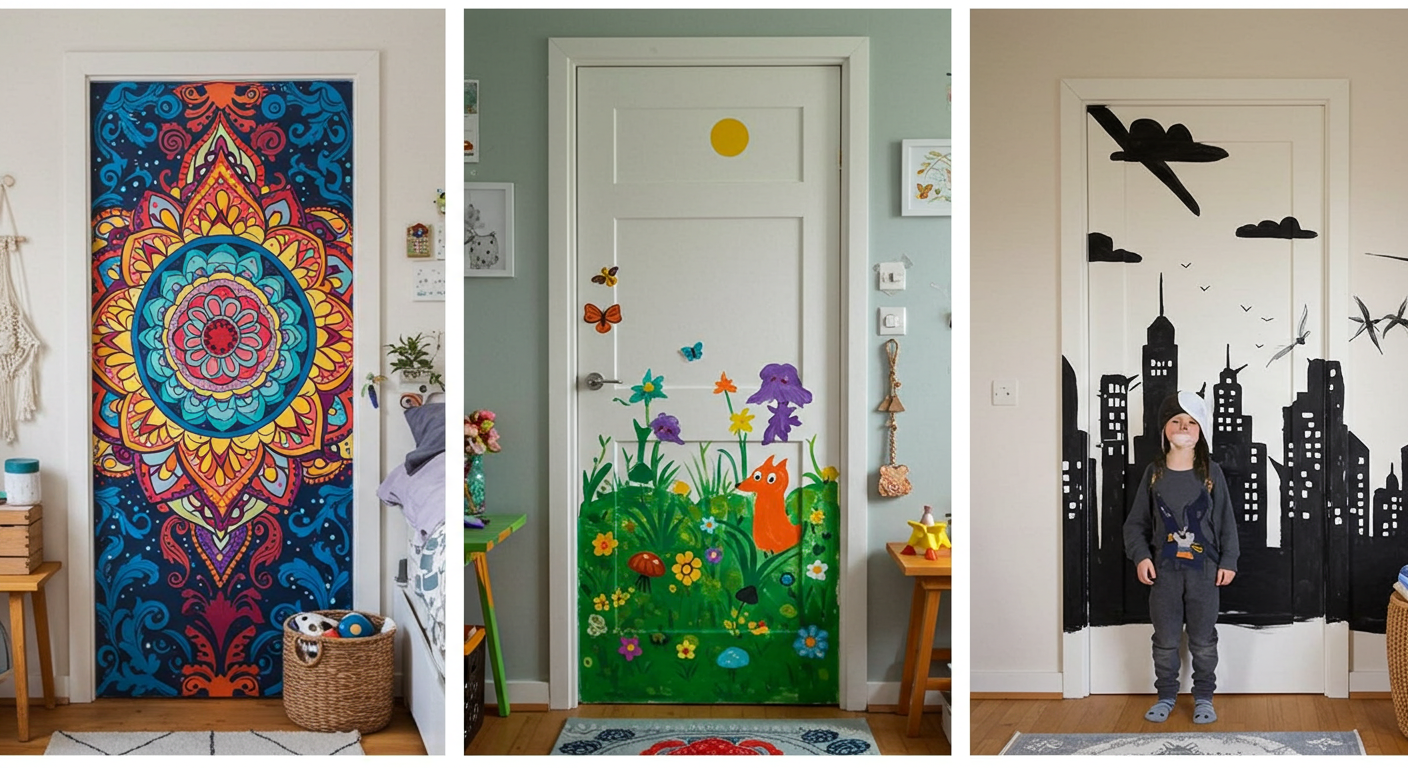
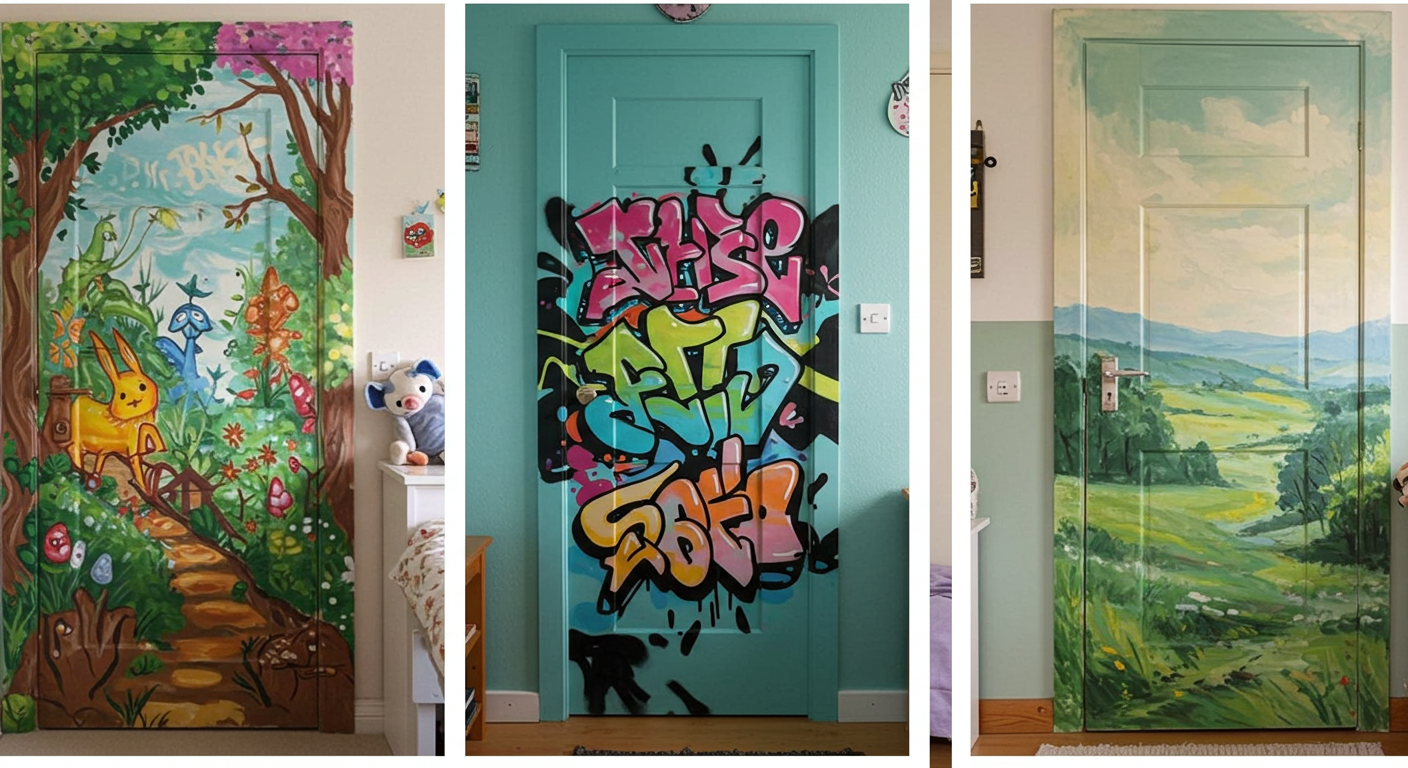
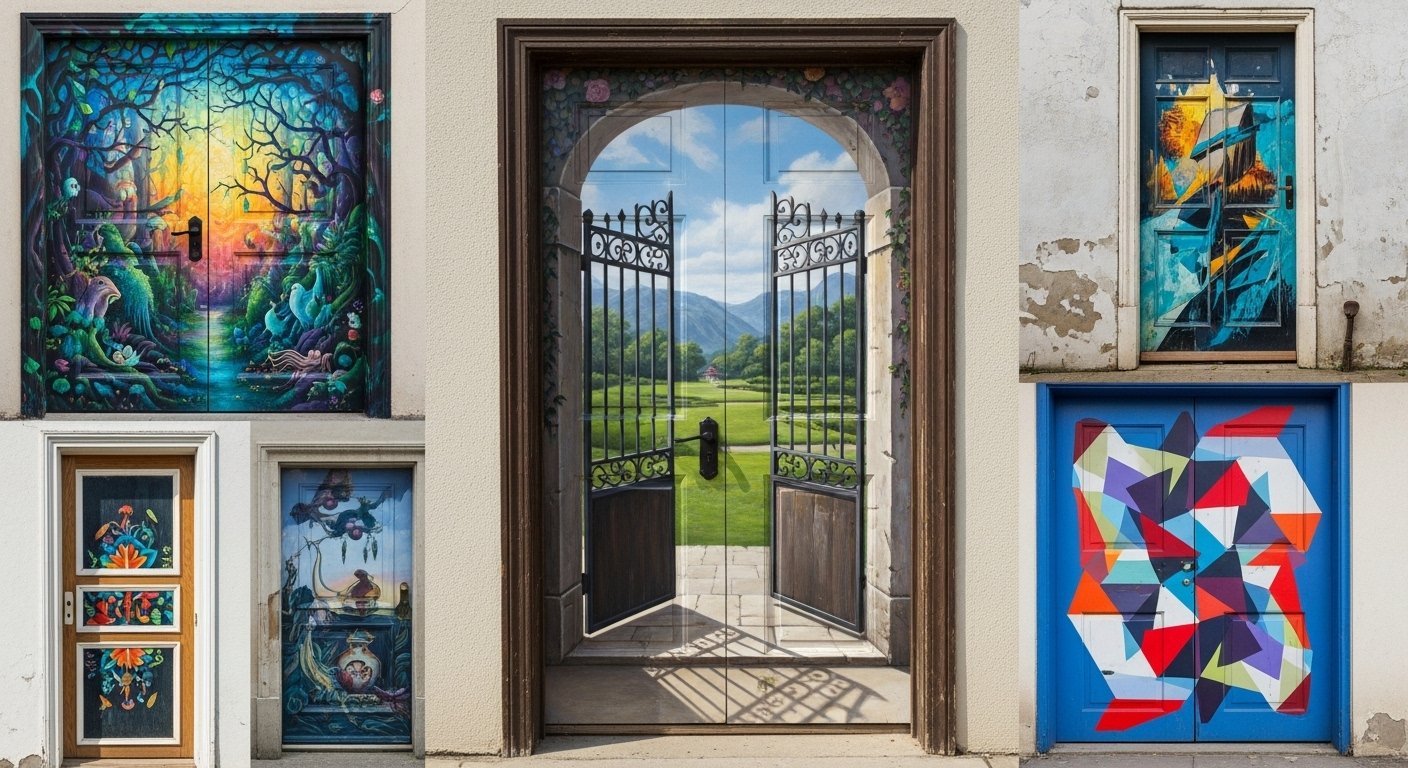
Ever walk past a plain door and think, “Wow, this thing could really use some personality”? Yeah… me too. The good news? You don’t need to be Picasso or even own a beret to give your door a makeover that turns heads. With the right paint, a little creativity, and maybe some coffee-fueled determination, you can pull off three ridiculously easy DIY door murals—even if your art skills peaked in kindergarten.
And trust me, once you see the transformation, you’ll start eyeing every door in your house like it’s the next blank canvas. 😏
1. The Bold Geometric Statement
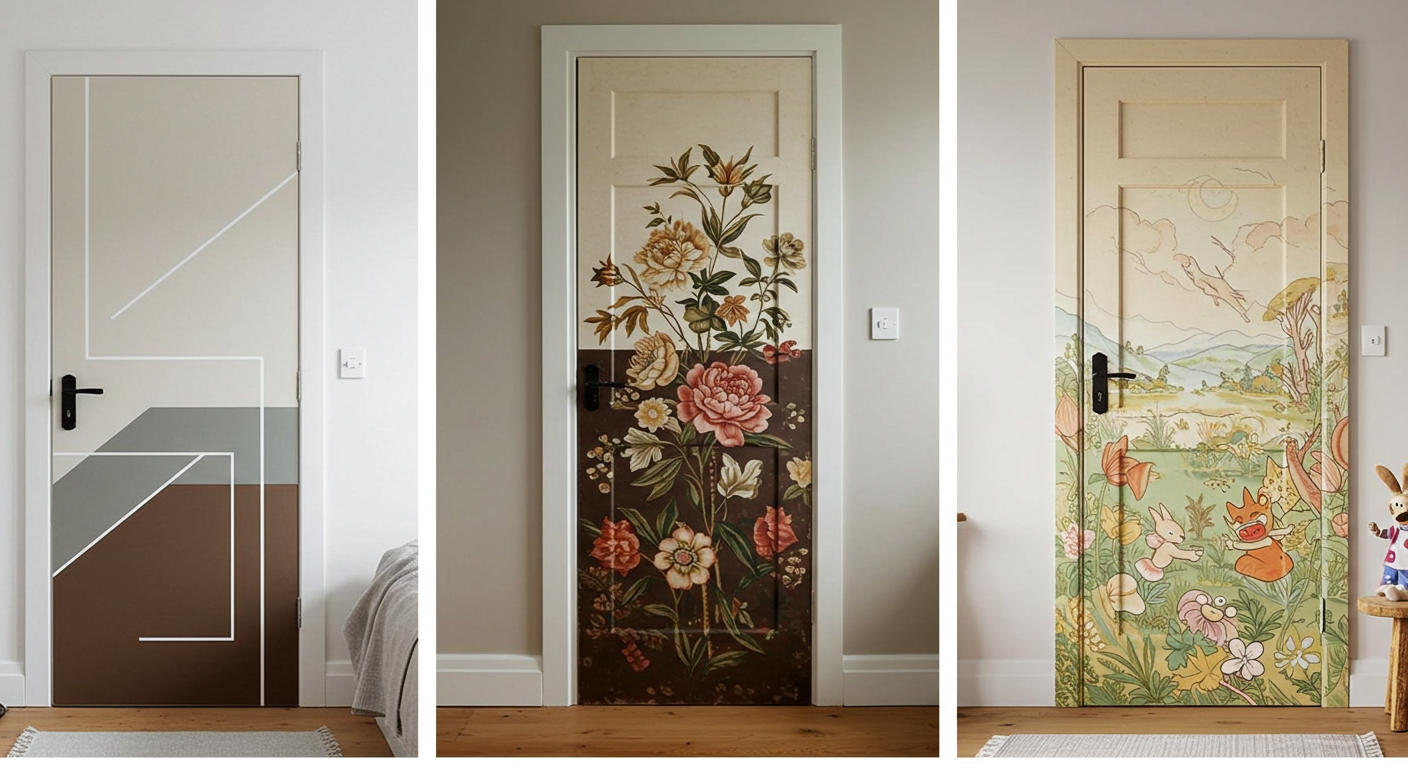
You know those Pinterest-perfect doors with sharp lines and funky shapes? Yeah, that’s the geometric statement look, and it’s honestly one of the easiest beginner-friendly murals ever.
Why It’s Perfect for Beginners
-
Straight lines are forgiving — even if you mess up, no one notices.
-
You only need two or three paint colors.
-
Tape does most of the hard work for you.
How to Pull It Off
-
Pick your palette. Go bold with contrasting colors (think navy + mustard) or stay chill with neutrals (beige + white).
-
Tape it up. Use painter’s tape to section off triangles, rectangles, or any shape you like.
-
Paint inside the lines. Fill in the shapes with a small roller or brush.
-
Peel for the big reveal. Remove the tape while the paint is still slightly wet to avoid ugly peeling.
Pro Tip:
Want to avoid a “DIY fail” look? Overlap shapes and vary the sizes. The randomness makes it look more “designer” and less “I was bored on a Sunday.”
2. The Minimalist Nature Silhouette
Ever wanted a mural that’s both artsy and chill? This one’s basically painting-by-numbers—except you make the numbers up. You’ll create a simple, one-color silhouette of a plant, tree branch, or flowers across your door.
Why It’s Perfect for Beginners
-
One color, one brush—super low pressure.
-
Imperfections add charm (so you can relax).
-
Works great on both interior and exterior doors.
How to Pull It Off
-
Choose your silhouette. Search online for “leaf silhouette” or “palm tree outline” and pick your fave.
-
Sketch lightly. Use a pencil to mark where the design will go—don’t overthink it.
-
Paint it in. Fill the outline with one solid color like black, white, or deep green.
-
Seal it. If it’s an outdoor door, use a clear coat to protect your masterpiece.
Pro Tip:
If your hand isn’t steady, print the design and use a projector or stencil. No shame—IMO, tools are there to make our lives easier.
3. The Ombre Fade
If you want a door mural that makes people say, “Whoa, did you hire an artist?”, the ombre fade is your move. It’s all about blending two or more colors to create a smooth gradient.
Why It’s Perfect for Beginners
-
No precise lines—you blend until it looks good.
-
Great for hiding minor flaws in the door surface.
-
Looks expensive (without the expensive part).
How to Pull It Off
-
Pick your colors. Start light at the top and fade to dark at the bottom, or vice versa.
-
Paint base coat. Cover the door in your lightest color.
-
Add your second color. Paint the bottom half in your darker shade.
-
Blend the middle. Use a dry brush or sponge to feather the two shades together.
-
Repeat if needed. More layers = smoother blend.
Pro Tip:
Work fast—ombre blending works best while the paint is still wet. So yeah… maybe don’t start this right before dinner.
Tools You’ll Need for All Three Murals
Here’s the short shopping list so you’re not making five trips to the store:
-
Painter’s tape (trust me, get the good kind—cheap tape bleeds paint)
-
Quality brushes & rollers
-
A drop cloth (unless you enjoy scrubbing paint off the floor)
-
Sandpaper (for smoothing rough door surfaces)
-
Primer (especially for dark doors or outdoor projects)
-
Sealer or clear coat (for long-lasting results)
Bonus tip: Always clean the door before painting. I know, sounds obvious, but you’d be surprised how many people skip this and end up with a dusty, bumpy disaster.
Choosing the Right Paint
I’ll be real—paint type matters more than you think. The wrong kind will chip, fade, or just look… sad.
-
Interior Doors: Go for acrylic latex paint—easy to work with, dries fast, and doesn’t smell too intense.
-
Exterior Doors: Use exterior-grade enamel for weather resistance.
-
High-Gloss vs. Matte: High-gloss is bold and easy to clean, matte feels more modern but shows scuffs faster.
Pro opinion: Satin finish is the sweet spot. It’s forgiving, wipeable, and looks polished without being too shiny.
Common Beginner Mistakes (and How to Avoid Them)
Look, I’ve been there. My first door mural was… let’s just say “abstract” 😅. Here’s how to avoid the usual rookie traps:
-
Skipping primer: You’ll regret it when the paint peels.
-
Not letting layers dry: Patience isn’t fun, but smudges are worse.
-
Using the wrong tape: Cheap tape = paint leaks = tears.
-
Ignoring lighting: Your mural might look amazing in daylight, then super weird under yellow indoor lights.
Why DIY Door Murals Are Totally Worth It
Besides the obvious “I made that!” bragging rights, door murals are cheap, impactful, and reversible. You’re not tearing down walls or spending thousands—just paint, creativity, and a weekend.
Plus, doors are the perfect beginner canvas—flat, contained, and easy to replace if things go terribly wrong (not that they will… probably 😉).
Final Thoughts: Time to Grab That Brush
So, there you have it—three easy DIY door murals you can tackle even if your last art project was finger painting. Whether you go bold geometric, calm nature silhouette, or show-stopping ombre, you’re about to turn that boring slab of wood into a conversation starter.
Honestly? The hardest part is choosing which one to try first. And hey, if it doesn’t turn out perfect, just remember: it’s only paint—you can always cover it up and start again.
Now go make that door fabulous. Your future self (and your Instagram followers) will thank you.
If you want, I can now create a Pinterest pin set and SEO meta description for this article so it’s ready to publish and promote. That way, it gets clicks and looks gorgeous online.

